


3D puffy foam embroidery is a technique that involves using a special type of foam backing material to create raised designs on a garment, such as a hat. Here's a general overview of the process:
-
Prepare the design: Create a design that you want to embroider using puffy foam. This technique works best with designs that have simple shapes and bold lines, as the foam will add dimension to the design.
-
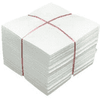
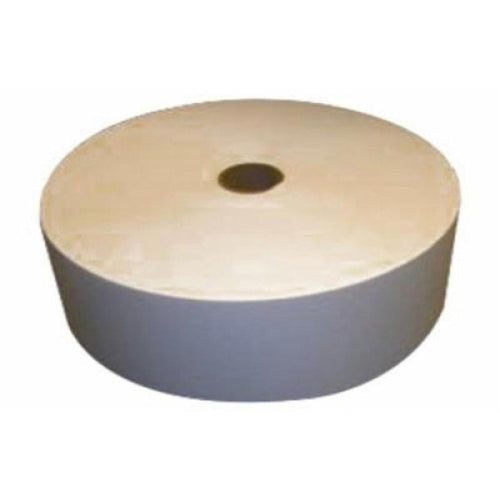
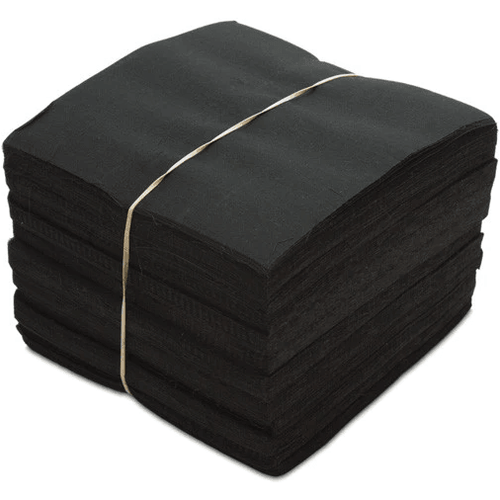
Choose the right foam: Purchase a puffy foam backing material that is specifically designed for embroidery. There are different types of foam available, so be sure to choose one that is appropriate for the type of fabric you are working with.
-
Cut the foam: Cut the foam to the shape of your design, leaving a small margin of foam around the edges.
-
Hoop the fabric: Hoop the fabric and the foam together, making sure that the fabric is tight and the foam is centered over the design.
-
Stitch the design: Stitch the design using a dense, fill stitch. It's important to use a fill stitch rather than a line stitch, as the fill stitch will help to hold the foam in place.
-
Trim the foam: Once the design is complete, trim the excess foam around the edges of the design.
-
Finish the hat: Finish the hat by attaching the embroidered foam design to the hat using fabric glue or a heat press.
-
Final adjustment: Once the foam design is attached to the hat, make any final adjustments, such as shaping the foam, to achieve the desired look.
It's important to note that puffy foam embroidery can be a complex technique, so it's recommended that you have some experience with machine embroidery before attempting this technique. It's also important to follow the manufacturer's instructions carefully, as different types of foam may require slightly different steps.